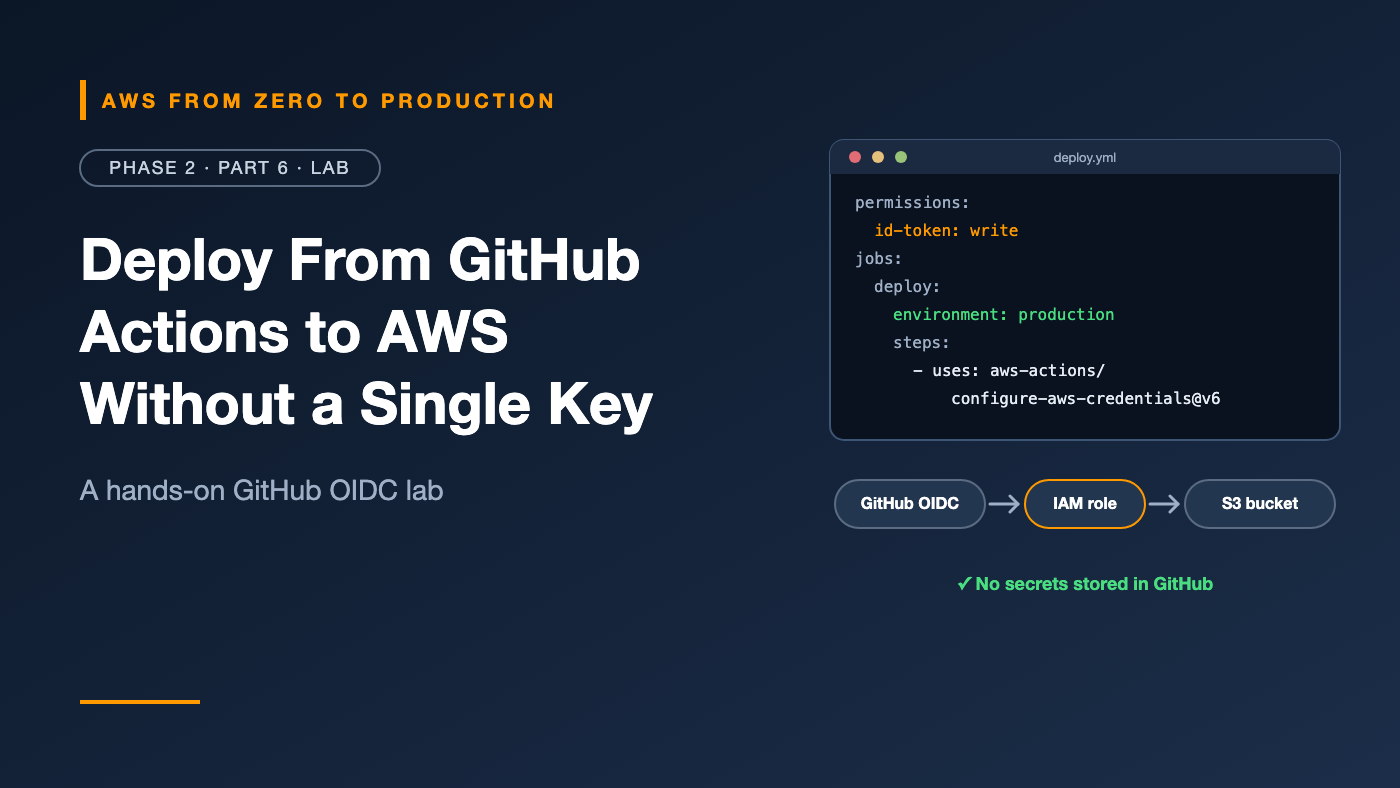
AWS from Zero to Production — Phase 2, Part 6 of 6 · See the full series roadmap
Open your repository’s Settings → Secrets and variables → Actions. If you see AWS_ACCESS_KEY_ID there, this lab is for you.
In the next hour, you’ll replace that key with something better: a deployment role that only one repository, in one GitHub environment, can use — with credentials that expire on their own after every run.
No secrets stored in GitHub. No keys to rotate. Nothing to leak.
What you’ll build
- 🔗 A GitHub OIDC identity provider in your AWS account
- 🪣 A small S3 bucket as a deployment target
- 🔐 An IAM role that trusts only your repository’s
productionenvironment - 🎯 A least-privilege permissions policy scoped to that one bucket
- 🚀 A GitHub Actions workflow that deploys using OIDC
- 🧪 A negative test that proves other workflows can’t use the role
GitHub Actions job (environment: production)
      |
      |  1. Request OIDC token (id-token: write)
      v
GitHub OIDC provider ---- signed JWT (sub = your repo + environment)
      |
      |  2. AssumeRoleWithWebIdentity
      v
AWS STS ---- checks trust policy conditions
      |
      |  3. Temporary credentials (about 1 hour)
      v
IAM role: github-oidc-demo-deploy ---- can only write to one bucket
      |
      v
S3 bucket: your-site files
Prerequisites
- Your Phase 1 sandbox, with the
sandboxCLI profile and an identity that can manage IAM - A GitHub account, and permission to create a repository
- Git installed locally
- Optional: the GitHub CLI (
gh), which makes Step 3 easier - About 45–60 minutes
Cost note: IAM, STS, and OIDC providers have no additional charge. The S3 bucket stores one tiny file. GitHub Actions minutes are free for public repositories; private repositories use your plan’s included minutes. You’ll delete the bucket in Cleanup.
On Windows? Commands use
\to continue lines, which works on macOS and Linux. In PowerShell, use a backtick (`) or put each command on one line — or run the AWS commands in CloudShell. Create the JSON files in any text editor.
Before you start: Throughout this lab, replace placeholder values:
ACCOUNT_ID,YOUR_GITHUB_USER,oidc-demo, the bucket name, and the IDs from Step 3.
Step 1: Create the GitHub repository and environment
- Create a new repository on GitHub named
oidc-demo. Public or private both work. - Clone it locally:
git clone https://github.com/YOUR_GITHUB_USER/oidc-demo.git
cd oidc-demo
- In the repository, go to Settings → Environments → New environment, and name it
production. - Optional: under the environment’s protection rules, add yourself as a required reviewer. Every production deployment will then wait for your approval. Required reviewers are available for public repositories and for private repositories on eligible GitHub plans.
✅ Checkpoint: The repository has an environment named production.
Step 2: Create the GitHub OIDC provider in AWS
First, check whether it already exists — it’s created once per AWS account:
aws iam list-open-id-connect-providers --profile sandbox
If you don’t see an ARN ending in token.actions.githubusercontent.com, create it:
aws iam create-open-id-connect-provider \
  --url https://token.actions.githubusercontent.com \
  --client-id-list sts.amazonaws.com \
  --profile sandbox
Save your account ID for later steps:
aws sts get-caller-identity --query Account --output text --profile sandbox
✅ Checkpoint: list-open-id-connect-providers shows:
arn:aws:iam::ACCOUNT_ID:oidc-provider/token.actions.githubusercontent.com
No thumbprint needed. AWS verifies GitHub’s OIDC endpoint using trusted certificate authorities. Older tutorials that ask for a thumbprint are out of date.
Step 3: Work out your repository’s sub claim
Your trust policy must match the sub claim exactly. Because the job will run in the production environment, the claim uses the environment form.
There are two possible formats:
Legacy:     repo:YOUR_GITHUB_USER/oidc-demo:environment:production
Immutable:  repo:YOUR_GITHUB_USER@OWNER_ID/oidc-demo@REPO_ID:environment:production
Repositories created on GitHub on or after 15 July 2026 use the immutable format, which includes numeric IDs. A repository you just created almost certainly uses it.
Find the numeric IDs with the GitHub CLI:
gh api repos/YOUR_GITHUB_USER/oidc-demo --jq '{repo_id: .id, owner_id: .owner.id}'
Or, for a public repository, without the CLI:
curl -s https://api.github.com/repos/YOUR_GITHUB_USER/oidc-demo
Look for the top-level "id" (the repository ID) and "owner": { "id": ... } (the owner ID).
Our approach: To get you working quickly, the trust policy in Step 5 allows both forms for your repository. In Step 9, you’ll check CloudTrail to see which form GitHub actually sent, then remove the other. Both values are locked to your specific repository and environment.
✅ Checkpoint: You have your owner ID and repository ID written down.
Step 4: Create the deployment target
Create a bucket. Bucket names are global, so make it unique:
aws s3 mb s3://yourname-oidc-demo-48213 \
  --region eu-west-1 \
  --profile sandbox
Use one of your Phase 1 Regions in place of eu-west-1.
✅ Checkpoint: aws s3 ls --profile sandbox lists your new bucket.
Step 5: Create the deployment role
5a. The trust policy — who can assume the role
Save this as trust-policy.json, replacing the placeholders:
{
  "Version": "2012-10-17",
  "Statement": [
    {
      "Sid": "GitHubProductionEnvironmentOnly",
      "Effect": "Allow",
      "Principal": {
        "Federated": "arn:aws:iam::ACCOUNT_ID:oidc-provider/token.actions.githubusercontent.com"
      },
      "Action": "sts:AssumeRoleWithWebIdentity",
      "Condition": {
        "StringEquals": {
          "token.actions.githubusercontent.com:aud": "sts.amazonaws.com",
          "token.actions.githubusercontent.com:sub": [
            "repo:YOUR_GITHUB_USER@OWNER_ID/oidc-demo@REPO_ID:environment:production",
            "repo:YOUR_GITHUB_USER/oidc-demo:environment:production"
          ]
        }
      }
    }
  ]
}
What this says:
- Only tokens from GitHub’s OIDC provider in this account.
- Only tokens meant for AWS STS (
aud). - Only tokens from your repository, running in the
productionenvironment (sub).
A list of values under StringEquals means “match any one of these.” Both entries are exact matches — no wildcards.
5b. The permissions policy — what the role can do
Save this as deploy-policy.json, using your bucket name:
{
  "Version": "2012-10-17",
  "Statement": [
    {
      "Sid": "ListDeployBucket",
      "Effect": "Allow",
      "Action": "s3:ListBucket",
      "Resource": "arn:aws:s3:::yourname-oidc-demo-48213"
    },
    {
      "Sid": "WriteDeployObjects",
      "Effect": "Allow",
      "Action": [
        "s3:PutObject",
        "s3:DeleteObject"
      ],
      "Resource": "arn:aws:s3:::yourname-oidc-demo-48213/*"
    }
  ]
}
Notice the bucket ARN for ListBucket and the object ARN (/*) for the object actions — exactly the distinction from Part 1.
5c. Create the role and attach the policy
aws iam create-role \
  --role-name github-oidc-demo-deploy \
  --assume-role-policy-document file://trust-policy.json \
  --max-session-duration 3600 \
  --profile sandbox

aws iam put-role-policy \
  --role-name github-oidc-demo-deploy \
  --policy-name s3-deploy \
  --policy-document file://deploy-policy.json \
  --profile sandbox
Why an inline policy? This permissions policy belongs to exactly one role and should be deleted with it. For reusable permissions in real projects, prefer customer managed policies.
✅ Checkpoint: The role exists and has the policy:
aws iam get-role-policy \
  --role-name github-oidc-demo-deploy \
  --policy-name s3-deploy \
  --profile sandbox
Engineer’s note: Before moving on, paste both policies into IAM Access Analyzer → Policy validation in the console. It flags errors and overly broad permissions as you write.
Step 6: Configure the repository — with variables, not secrets
The role ARN and bucket name aren’t secrets. Store them as variables on the production environment:
- Go to Settings → Environments → production.
- Under Environment variables, add these three:
AWS_ROLE_ARN=arn:aws:iam::ACCOUNT_ID:role/github-oidc-demo-deployAWS_REGION= your bucket’s Region, such aseu-west-1DEPLOY_BUCKET=yourname-oidc-demo-48213
✅ Checkpoint: The production environment shows three variables and zero secrets.
Step 7: Add the site and the workflow
Create a tiny site:
mkdir -p site
echo "<h1>Deployed with OIDC — no access keys.</h1>" > site/index.html
Create .github/workflows/deploy.yml:
name: Deploy to S3

on:
  push:
    branches: [main]
  workflow_dispatch:

permissions:
  id-token: write   # required to request the OIDC token
  contents: read    # required to check out the code

jobs:
  deploy:
    runs-on: ubuntu-latest
    environment: production

    steps:
      - name: Check out code
        uses: actions/checkout@v5

      - name: Configure AWS credentials with OIDC
        uses: aws-actions/configure-aws-credentials@v6
        with:
          role-to-assume: ${{ vars.AWS_ROLE_ARN }}
          aws-region: ${{ vars.AWS_REGION }}
          role-session-name: github-${{ github.run_id }}

      - name: Show who we are
        run: aws sts get-caller-identity

      - name: Deploy site
        run: aws s3 sync site/ "s3://${{ vars.DEPLOY_BUCKET }}/" --delete
Key lines:
id-token: writelets the job request an OIDC token. Without it, authentication fails.environment: productionmakes the token’ssubclaim use the environment form — and applies any reviewer rules.role-session-nameincludes the run ID, so CloudTrail shows exactly which workflow run did what.- There’s no
aws-access-key-idanywhere.
Commit and push:
git add site .github
git commit -m "Deploy to S3 with GitHub OIDC"
git push origin main
Step 8: Watch it deploy
- Open the Actions tab in your repository.
- If you added a required reviewer, approve the deployment.
- Open the Show who we are step.
✅ Checkpoint: The output shows an assumed-role ARN:
{
  "UserId": "AROAEXAMPLEID:github-1234567890",
  "Account": "111122223333",
  "Arn": "arn:aws:sts::111122223333:assumed-role/github-oidc-demo-deploy/github-1234567890"
}
Then confirm the file arrived:
aws s3 ls s3://yourname-oidc-demo-48213/ --profile sandbox
✅ Checkpoint: You see index.html. You just deployed to AWS without storing a single credential.
Step 9: Tighten the trust policy
Now find out which sub format GitHub actually sent.
- In the AWS console, open CloudTrail → Event history in the Region you’re using for this series (the one set as your CLI default in Phase 1).
- Filter by Event name =
AssumeRoleWithWebIdentity. - Open the most recent event and look at the user identity section of the event record. It includes the token’s subject — for example,
repo:YOUR_GITHUB_USER@OWNER_ID/oidc-demo@REPO_ID:environment:production.
If you can’t find the event there, check the us-east-1 Region as well.
Edit trust-policy.json so the sub condition contains only the format you saw, as a single string. Then apply it:
aws iam update-assume-role-policy \
  --role-name github-oidc-demo-deploy \
  --policy-document file://trust-policy.json \
  --profile sandbox
Re-run the workflow from the Actions tab with Run workflow to confirm it still works.
✅ Checkpoint: The trust policy has exactly one sub value, and the deployment still succeeds.
Step 10: Prove that nothing else can use the role
A secure setup should fail for the wrong caller. Let’s test it.
Create .github/workflows/should-fail.yml:
name: Should fail - no environment

on:
  workflow_dispatch:

permissions:
  id-token: write
  contents: read

jobs:
  try-to-assume:
    runs-on: ubuntu-latest
    # No environment here, so the sub claim uses the branch form.

    steps:
      - uses: aws-actions/configure-aws-credentials@v6
        with:
          role-to-assume: arn:aws:iam::ACCOUNT_ID:role/github-oidc-demo-deploy
          aws-region: eu-west-1
Replace ACCOUNT_ID and the Region, commit, push, and run it manually from the Actions tab.
✅ Checkpoint: The job fails with an error like:
Not authorized to perform sts:AssumeRoleWithWebIdentity
Without environment: production, the token’s sub claim is repo:...:ref:refs/heads/main — which your trust policy doesn’t allow. The same is true for any other repository, branch-only job, or fork.
Why this matters: A test that only proves success doesn’t prove security. Always check that the wrong caller is rejected.
Step 11 (optional): Harden further
Ideas to take this to production quality:
- Pin actions to a full commit SHA instead of a version tag, so a moved tag can’t change what runs.
- Require reviewers on the
productionenvironment, if your plan supports it. - Restrict deployment branches in the environment settings, so only
maincan deploy toproduction. - Add a permissions boundary to deployment roles, as in Part 2.
- Separate roles per environment: a staging role trusting
environment:staging, and a production role trustingenvironment:production. - Alert on unexpected use: a CloudWatch alarm or EventBridge rule on
AssumeRoleWithWebIdentityevents for this role.
Cleanup
Delete the test resources:
aws s3 rb s3://yourname-oidc-demo-48213 --force --profile sandbox

aws iam delete-role-policy \
  --role-name github-oidc-demo-deploy \
  --policy-name s3-deploy \
  --profile sandbox

aws iam delete-role \
  --role-name github-oidc-demo-deploy \
  --profile sandbox
Careful:
aws s3 rb --forcedeletes every object in the bucket first. Double-check the bucket name.
Keep the GitHub OIDC provider if you’re continuing the series — Phase 7 reuses it, and it has no additional charge. To remove it anyway:
aws iam delete-open-id-connect-provider \
  --open-id-connect-provider-arn arn:aws:iam::ACCOUNT_ID:oidc-provider/token.actions.githubusercontent.com \
  --profile sandbox
In GitHub, you can delete the oidc-demo repository, or keep it as a reference.
Troubleshooting
Could not load credentials from any providers or an error about requesting the OIDC token
Cause: the workflow is missing id-token: write. Fix: add it under permissions.
Not authorized to perform sts:AssumeRoleWithWebIdentity
Cause: the token’s sub or aud doesn’t match the trust policy. Fix: check the environment form vs. the branch form, the immutable vs. legacy format, exact spelling and case, and the provider ARN.
No OpenIDConnect provider found in your account
Cause: the GitHub OIDC provider doesn’t exist in this account. Fix: repeat Step 2.
role-to-assume is empty, or the action says the input is required
Cause: the environment variables aren’t available to the job. Fix: confirm the job has environment: production and the variables are defined on that environment.
AccessDenied during aws s3 sync
Cause: the permissions policy doesn’t match the bucket. Fix: check the bucket ARN for ListBucket and the /* object ARN for PutObject and DeleteObject.
The deployment is stuck on “Waiting”
Cause: the production environment requires a reviewer. Fix: approve it in the Actions run.
What you accomplished
- ✅ Registered GitHub as a trusted OIDC identity provider
- ✅ Created a role that only one repository’s
productionenvironment can assume - ✅ Scoped its permissions to a single bucket
- ✅ Deployed from GitHub Actions with temporary credentials — and no stored secrets
- ✅ Verified the
subformat in CloudTrail and tightened the trust policy - ✅ Proved that a job without the environment is rejected
This is the identity foundation for the CI/CD pipeline you’ll build in Phase 7.
Quick self-check
Test yourself before moving on:
- Why are the role ARN and bucket name stored as GitHub variables instead of secrets?
- What two claims does the trust policy check?
- Why did the
should-failworkflow fail? - Where can you see which
subformat GitHub actually sent?
Answers
- They’re not sensitive. The trust policy — not secrecy — decides who can use the role.
aud(must bests.amazonaws.com) andsub(your repository and environment).- Without
environment: production, the token’ssubuses the branch form, which the trust policy doesn’t allow. - In CloudTrail — the user identity of the
AssumeRoleWithWebIdentityevent.
What’s next
Phase 3 moves to networking: VPCs, subnets, route tables, security groups, and DNS. You’ll build a two-AZ network with a public load balancer and private application and database tiers — the home for everything that comes after.
Did the negative test fail the way you expected? Tell me in the comments — and share any errors you hit so I can add them to Troubleshooting.