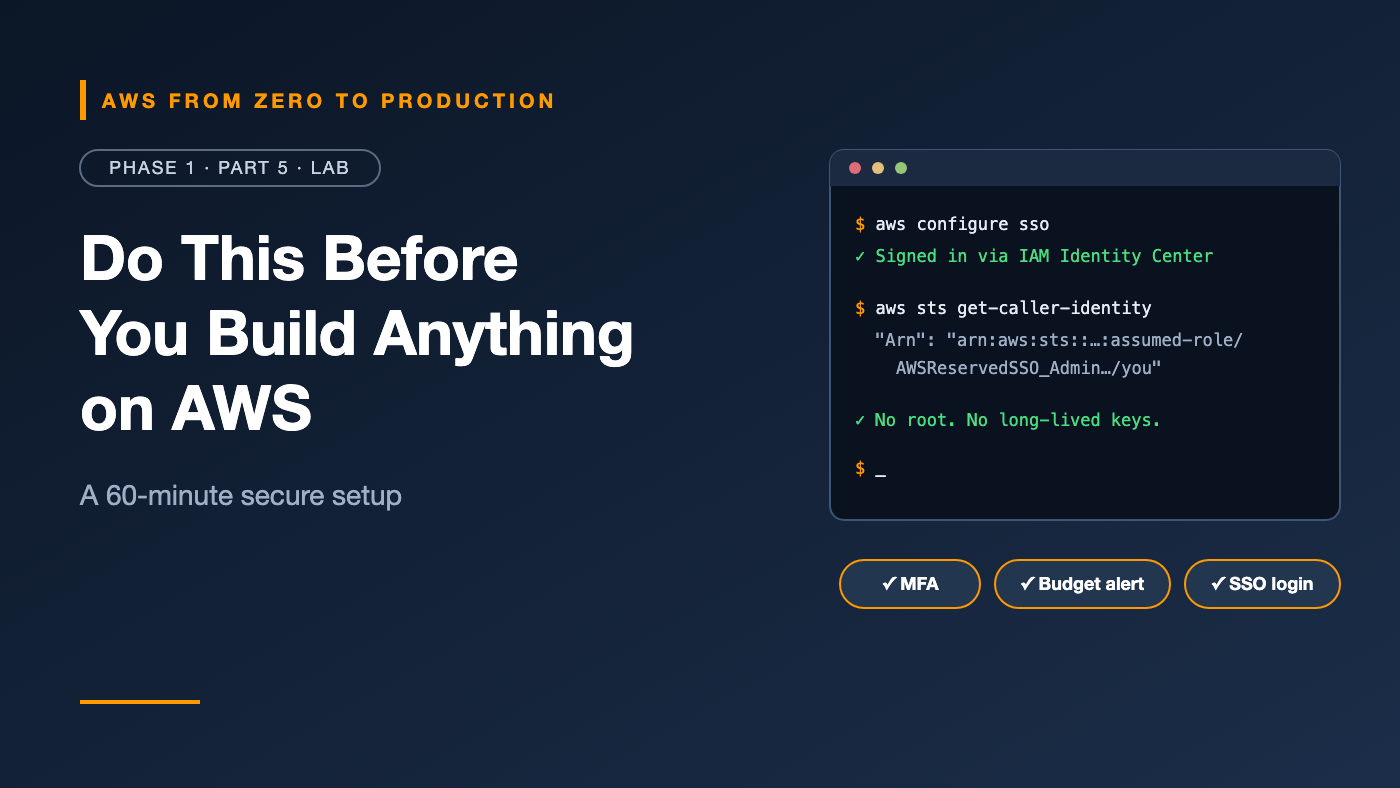
AWS from Zero to Production — Phase 1, Part 5 of 5 · See the full series roadmap
Most AWS tutorials start the same way: “Create an access key and paste it into your terminal.”
It’s the fastest way to get started. It’s also how many AWS accounts get compromised. Keys end up in Git history, shared scripts, and forgotten laptops — and they never expire.
There’s a better way, and it only takes about an hour.
In this hands-on guide, you’ll set up the AWS environment the way experienced engineers do: the root user locked away, a cost alarm in place, and a CLI that uses temporary credentials that expire on their own.
Do this once, and you can experiment for the rest of the series with confidence.
What you’ll build
- 🔑 An AWS account with MFA-protected root access
- 🔔 A budget alert that emails you before costs get out of hand
- 👤 A separate everyday login through IAM Identity Center
- 💻 AWS CLI v2 configured with
aws configure sso— no permanent keys - 🌍 A hands-on comparison of two AWS Regions
Prerequisites
- An email address and a payment method, if creating a new account
- An authenticator app or a hardware security key
- A terminal on macOS, Linux, or Windows — or use AWS CloudShell instead of a local CLI
- About 45–60 minutes
On Windows? The commands in this lab are written for macOS and Linux shells. Look for the Windows notes in Steps 6 and 7, or use CloudShell, which runs a Linux shell in your browser.
Cost note: This lab changes account settings, creates a budget, enables IAM Identity Center, and runs read-only CLI commands. It’s designed not to create billable compute, storage, or networking resources. Check current AWS Budgets pricing and Free Tier terms before you begin.
Using a company sandbox? Your administrators may already manage the account, root user, budgets, and IAM Identity Center. Skip those steps, ask for an access portal URL, and start at Step 4. Never change organization-level settings without permission.
Step 1: Create the AWS account
- Go to the official AWS website and choose to create an account.
- Use an email address you’ll keep long-term. For work or shared accounts, use a monitored group address.
- Choose a strong, unique password and store it in a password manager.
- Complete contact, payment, and identity verification.
- Review the support and Free Tier options shown during sign-up, and choose what fits your learning plans.
✅ Checkpoint: You can sign in to the AWS Management Console as the root user.
Step 2: Secure the root user
- While signed in as root, open the account menu at the top right and choose Security credentials.
- Under Multi-factor authentication (MFA), choose Assign MFA device.
- Choose your device type: passkey or security key, authenticator app, or hardware TOTP token.
- Follow the prompts to register it.
- On the same page, confirm there are no access keys for the root user. Delete any that exist.
Also set alternate contacts:
- Open the account menu and choose Account.
- Under Alternate contacts, add billing, operations, and security contacts.
✅ Checkpoint: Sign out and sign back in as root. AWS should prompt for MFA.
Store recovery information safely. If you lose both the root password and the MFA device, recovering the account can be slow and difficult.
Step 3: Create a budget alert
- Open Billing and Cost Management, then choose Budgets.
- Choose Create budget.
- Use a template such as Monthly cost budget, or choose a custom Cost budget.
- Set a monthly amount you’re comfortable with — for example, $10.
- Add your email address as a recipient.
- If you created a custom budget, add alerts — for example, at 50% and 80% of actual spend, and at 100% of forecasted spend.
- Create the budget.
✅ Checkpoint: The budget appears in the Budgets list with the expected amount and alert thresholds.
Remember: Budgets notify you. They don’t stop spending unless you configure separate budget actions.
Optional but recommended: Turn on Free Tier usage alerts in the Billing preferences, if available for your account.
Step 4: Create a daily-use identity with IAM Identity Center
The root user should now be locked away. For daily work, use IAM Identity Center, which provides a sign-in portal and short-lived credentials.
4a. Enable IAM Identity Center
- Search for IAM Identity Center in the console.
- Note the Region shown in the Region selector — Identity Center is enabled in one home Region. Choose the Region you’ll use for this series.
- Choose Enable. If prompted, enable it with AWS Organizations; this is the recommended setup.
Wait — didn’t Part 3 say to keep workloads out of the management account? Yes. Enabling IAM Identity Center with AWS Organizations creates an organization and makes this account its management account. For a personal learning sandbox, that’s an acceptable shortcut: you’re the only user, and nothing here is production. In a real company, you’d create separate member accounts for workloads and keep the management account for administration and billing only.
4b. Create your user
- Choose Users, then Add user.
- Enter a username, email address, and name.
- Complete creation. You’ll receive an email invitation — accept it and set a password.
4c. Create a permission set
- Choose Permission sets, then Create permission set.
- Choose a predefined permission set.
- For a personal learning sandbox,
AdministratorAccessis acceptable. - For shared or work accounts, use narrower permissions agreed with your administrators.
- Set a session duration, such as 4 or 8 hours.
4d. Assign access
- Choose AWS accounts, select your account, then Assign users or groups.
- Select your user and the permission set.
- Submit.
4e. Sign in and register MFA
- Copy the AWS access portal URL from the Identity Center dashboard.
- Sign out of the root user.
- Open the access portal URL, sign in as your new user, and register an MFA device when prompted.
- Choose your account and permission set to open the console.
✅ Checkpoint: You’re in the console as your Identity Center user. The account menu shows your permission set role, not root.
From now on, use this identity for everything in this series.
Step 5: Install the AWS CLI v2
Install the AWS CLI v2 by following the official AWS installation guide for your operating system. AWS’s recommended method is its install script; the guide also offers graphical installers — a .pkg for macOS and an .msi for Windows. Homebrew users can also run:
brew install awscli
Homebrew is a third-party package manager, so its version may lag slightly behind AWS’s own installers.
Verify:
aws --version
✅ Checkpoint: The output shows aws-cli/2.x.x.
Prefer not to install anything? Open CloudShell from the console toolbar. It runs as your current console identity, so you can skip Step 6 and use the commands in Step 7 without
--profile sandbox.
Step 6: Configure the CLI with short-lived credentials
Run:
aws configure sso
The CLI asks for information in stages.
Before browser sign-in:
- SSO session name: a name such as
sandbox - SSO start URL: your AWS access portal URL
- SSO region: the Region where you enabled IAM Identity Center
- SSO registration scopes: press Enter to accept the default
The CLI then opens a browser window. Sign in, approve the request, and return to the terminal.
After browser sign-in:
- Account: select your account, if there is more than one
- Role: select your permission set
- Default client Region: the Region you’ll use for this series
- CLI default output format:
json - Profile name:
sandbox
Confirm which identity the CLI is using:
aws sts get-caller-identity --profile sandbox
You should see output similar to:
{
  "UserId": "AROAEXAMPLEID:your-username",
  "Account": "111122223333",
  "Arn": "arn:aws:sts::111122223333:assumed-role/AWSReservedSSO_AdministratorAccess_abc123/your-username"
}
✅ Checkpoint: The ARN shows an assumed-role, not root.
When the session expires
The credentials are temporary. When they expire, sign in again:
aws sso login --profile sandbox
To avoid typing --profile on every command in the current terminal:
export AWS_PROFILE=sandbox
Windows (PowerShell): use
$env:AWS_PROFILE = "sandbox"instead ofexport.
Why not
aws configurewith access keys? Long-lived access keys are one of the most common causes of AWS account compromise. They get committed to Git, copied into scripts, and forgotten. Short-lived credentials expire automatically.
Step 7: Explore two Regions
Windows: the commands below use
\to split long commands across lines, which works on macOS and Linux. In PowerShell, put each command on a single line or replace\with a backtick (`). In Command Prompt, use a single line. Or run them in CloudShell as written.
List available Regions
aws ec2 describe-regions \
  --query "Regions[].RegionName" \
  --output table \
  --profile sandbox
To include Regions that aren’t enabled for your account:
aws ec2 describe-regions \
  --all-regions \
  --query "Regions[].[RegionName,OptInStatus]" \
  --output table \
  --profile sandbox
Compare Availability Zones
Pick two Regions — for example, one near you and us-east-1:
aws ec2 describe-availability-zones \
  --region us-east-1 \
  --query "AvailabilityZones[].[ZoneName,ZoneId,State]" \
  --output table \
  --profile sandbox

aws ec2 describe-availability-zones \
  --region eu-west-1 \
  --query "AvailabilityZones[].[ZoneName,ZoneId,State]" \
  --output table \
  --profile sandbox
Notice:
- Each Region has multiple AZs.
- Each AZ has both a name and an ID. Recall from Part 2 that names can map differently across accounts; IDs don’t.
Regional vs. global in the console
- Open EC2 and switch between your two Regions. The dashboard is separate for each Region.
- Open IAM. The Region selector shows Global — IAM isn’t regional.
- Open S3. The console lists general-purpose buckets from all Regions in one view, but each bucket shows its own Region.
A brand-new account has no buckets, so there’s nothing to see yet. To observe this behavior, create an empty bucket in one of your two Regions. Bucket names must be globally unique, so add something personal, such as your name and a random number:
aws s3 mb s3://yourname-sandbox-test-48213 \
  --region eu-west-1 \
  --profile sandbox
Refresh the S3 console. The bucket appears in the list, with eu-west-1 shown as its Region — even if the console’s Region selector is set somewhere else. You’ll delete it in Cleanup.
✅ Checkpoint: You can explain:
- Why EC2 looks different in each Region
- Why IAM doesn’t ask for a Region
- How S3 can show all buckets while each bucket still lives in one Region
Cleanup
This lab creates no billable compute or networking resources. If you created the test bucket in Step 7, delete it:
aws s3 rb s3://yourname-sandbox-test-48213 --profile sandbox
Keep these for the rest of the series:
- Root user MFA and alternate contacts
- The budget alert
- IAM Identity Center, your user, and your permission set
- The
sandboxCLI profile
If you used CloudShell, delete any files you don’t need from its home directory.
Troubleshooting
aws: command not found
Cause: the CLI isn’t installed or isn’t on your PATH. Fix: reinstall, then open a new terminal.
Error loading SSO Token or an expired token
Cause: your session expired. Fix: run aws sso login --profile sandbox.
The config profile (sandbox) could not be found
Cause: the profile name is different. Fix: check ~/.aws/config.
AccessDenied
Cause: the permission set is too narrow. Fix: check the permission set assigned to your user.
A Region is missing Cause: an opt-in Region isn’t enabled. Fix: enable it under Account settings, if needed.
No MFA prompt for root Cause: MFA wasn’t registered correctly. Fix: recheck the root user’s Security credentials.
BucketAlreadyExists when creating the test bucket
Cause: S3 bucket names are global, and someone already has that name. Fix: choose a more unique name.
What you accomplished
- ✅ Created and secured an AWS account
- ✅ Protected the root user with MFA and removed the need for root access keys
- ✅ Set up cost alerts
- ✅ Created a daily-use identity with short-lived credentials
- ✅ Configured the AWS CLI without long-lived access keys
- ✅ Saw regional, zonal, and global scope in practice
This is the foundation for everything in the series.
Quick self-check
Test yourself before moving on:
- Why use
aws configure ssoinstead of creating access keys? - After running
aws sts get-caller-identity, what should the ARN show if everything is set up correctly? - Your CLI says the SSO token has expired. Which command fixes it?
- Why is your sandbox now the management account of an organization — and is that OK?
Answers
- It uses temporary credentials that expire on their own, so there are no long-lived keys to leak.
- An
assumed-roleARN for your permission set — notroot. aws sso login --profile sandbox- Enabling IAM Identity Center with AWS Organizations created an organization. It’s fine for a personal sandbox; real teams run workloads in separate member accounts.
What’s next
Phase 2 goes deep into identity and security: IAM users, groups, roles, and policies; how AWS evaluates permissions; and how to let GitHub Actions deploy to AWS using OIDC — without storing AWS keys in GitHub.
Did you get stuck anywhere in this lab? Tell me in the comments and I’ll update the troubleshooting section.