AWS from Zero to Production — Phase 1, Part 4 of 5 · See the full series roadmap
You follow a tutorial. You launch a few resources. Everything works.
Three weeks later, an email arrives: your AWS bill.
It isn’t the server that surprises you. It’s the NAT gateway you didn’t know you created. The data transfer you never thought about. The test environment that ran every night and every weekend while you were asleep.
This fear stops a lot of people from experimenting with AWS at all. The good news: AWS costs follow clear rules. Once you know what you’re billed for and set up a few simple guardrails, you can learn freely without watching your inbox in fear.
Prices and Free Tier terms change. This article explains concepts and tools. Always check the current AWS pricing pages and the AWS Pricing Calculator before relying on specific numbers.
What you’ll walk away with
- 🧾 What AWS actually bills you for — including the hidden costs tutorials skip
- 🎯 On-Demand vs. Savings Plans vs. Reserved Instances vs. Spot, in plain English
- 🪤 The Free Tier traps that catch beginners
- 🔔 The cost tools that keep your bill predictable — and catch surprises early
- 🧮 A worked example showing where a small app’s money actually goes
- 🚑 What to do if you get a surprise bill anyway
- 🆘 Which AWS Support plan you actually need
- ✂️ Five habits that eliminate most cloud waste
How AWS charges you
AWS uses pay-as-you-go pricing: you pay for what you consume, with no upfront commitment by default.
Most charges fall into a few dimensions:
- Compute time: EC2 instances, Fargate tasks, and RDS instances, per second or hour.
- Storage: S3 and EBS per GB-month, plus snapshots and backups.
- Requests: S3 requests, Lambda invocations, API Gateway calls.
- Data processed: Athena per data scanned, NAT gateway per GB processed.
- Data transfer: data leaving AWS to the internet, between Regions, and between AZs.
- Provisioned features: Elastic IPs, public IPv4 addresses, load balancers, provisioned IOPS.
The hidden costs that surprise people
These rarely appear in “getting started” tutorials:
- Data transfer out to the internet and cross-AZ / cross-Region traffic
- NAT gateways, which charge per hour and per GB processed
- Public IPv4 addresses, which are charged even when attached to a running resource
- Idle load balancers and unattached EBS volumes
- Snapshots and backups that accumulate over time
- Log retention in CloudWatch Logs left at “never expire”
Engineer’s note: Data transfer is the most commonly underestimated cost in AWS architectures. When you draw an architecture diagram, ask: where does data cross an AZ, Region, or internet boundary, and how much?
A worked example: where the money actually goes
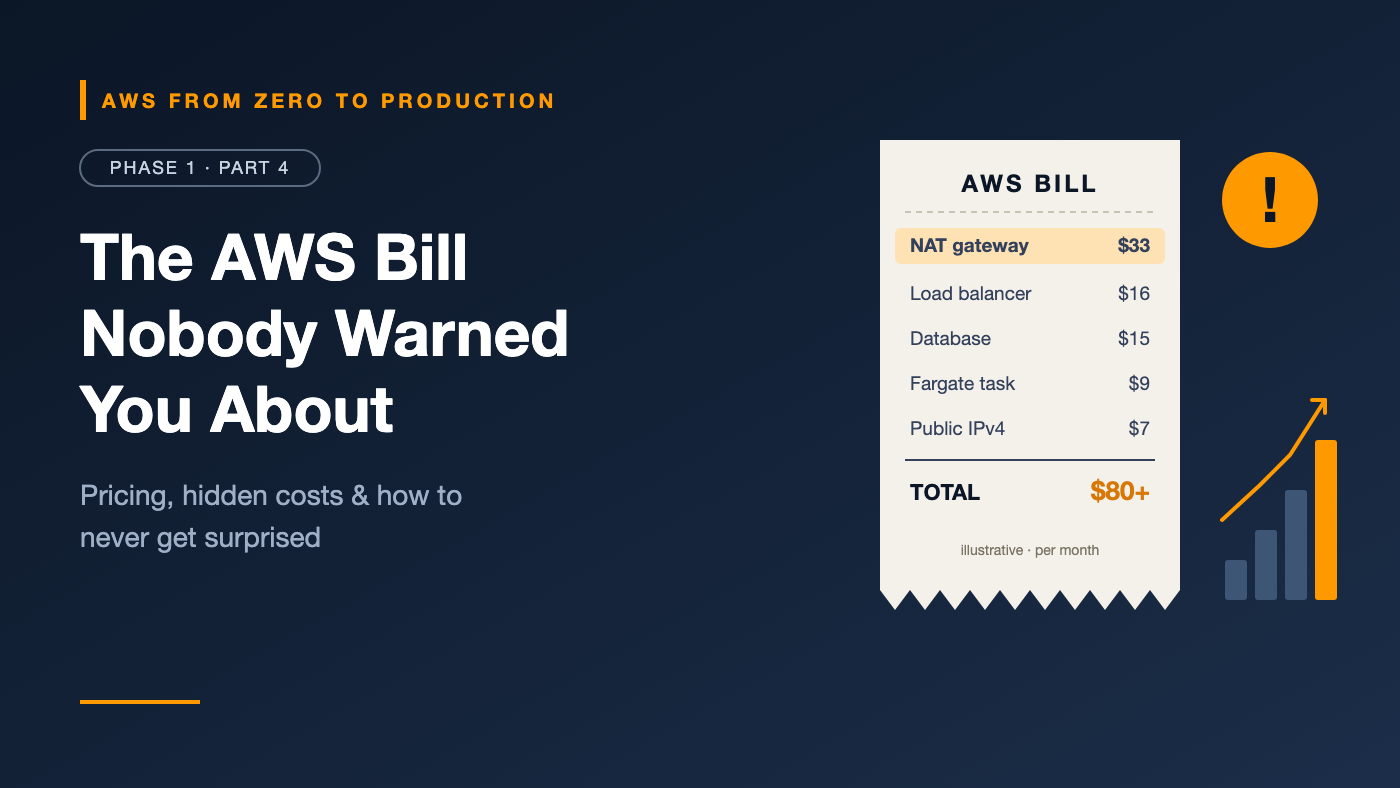
Imagine a tiny containerized API: one small Fargate task behind a load balancer, a small database, and a NAT gateway so the private task can reach the internet. Running 24/7 for a month, the bill looks roughly like this:
Component (running 24/7)           Approx. monthly cost
NAT gateway (hourly charge only)   ~$33
Application Load Balancer          ~$16+
Small RDS database + storage       ~$15
Small Fargate task                 ~$9
Public IPv4 addresses (x2)         ~$7
--------------------------------------------------
Total                              ~$80+ before data transfer
Illustrative On-Demand estimates for us-east-1, rounded, at the time of writing. Prices change and vary by Region — model your own setup in the AWS Pricing Calculator.
Notice the pattern: the application itself is the cheapest line. The networking around it — NAT gateway, load balancer, public IPs — costs several times more. That’s exactly why tutorials surprise people, and why we’ll design networking carefully in Phase 3.
Pricing models
On-Demand
Pay a fixed rate per second or hour, with no commitment.
- Best for: new workloads, unpredictable usage, development, short-term tests
- Tradeoff: the highest unit price, but maximum flexibility
Savings Plans
Commit to a consistent amount of compute spend, measured in dollars per hour, for 1 or 3 years. In return, you get lower rates on matching usage.
- Compute Savings Plans are flexible: they apply across EC2 instance families, Regions, and services such as Fargate and Lambda.
- EC2 Instance Savings Plans offer larger discounts, but are tied to an instance family in a Region.
- Other Savings Plan types exist for specific services; check the current list.
- Best for: steady baseline compute usage
Reserved Instances (RIs)
Commit to a specific resource configuration for 1 or 3 years for a discount.
- For EC2, Savings Plans are generally the more flexible choice today.
- RIs remain important for other services, such as Amazon RDS, ElastiCache, OpenSearch Service, and Redshift.
- Best for: databases and other always-on managed services with predictable sizes
Spot Instances
Use spare EC2 capacity at a steep discount. AWS can reclaim Spot capacity with a two-minute interruption notice.
- Best for: fault-tolerant, interruptible work — batch processing, CI runners, big data jobs, and stateless workers
- Not for: primary databases, single-instance applications, or anything that can’t handle sudden termination
Choosing a model
- Learning and experiments → On-Demand, turned off when idle.
- Steady production compute → Savings Plans for the baseline, On-Demand for peaks.
- Production databases running 24/7 → Reserved Instances, once the size is stable.
- Batch jobs, Spark/EMR, CI runners → Spot, with On-Demand fallback.
- Brand-new workload → On-Demand until usage patterns are clear.
Engineer’s note: Don’t commit before you have data. Run On-Demand for a few weeks, check Cost Explorer’s recommendations, and commit only to the stable baseline.
The AWS Free Tier
The AWS Free Tier lets new customers try AWS at low or no cost. Its structure has changed over time — for example, recent versions use credits and a time-limited free plan for new accounts, alongside services with ongoing free allowances.
Before relying on it:
- Read the current Free Tier page for your account type and sign-up date.
- Check exactly which services, resource sizes, and limits are covered.
- Understand what happens when credits or the free period end.
Common Free Tier traps
- Choosing a resource size that isn’t covered
- Leaving resources running after the free period ends
- Assuming all related costs are free — such as data transfer, public IPv4 addresses, or NAT gateways
- Creating resources in several Regions and forgetting about some of them
The Free Tier is not a substitute for a budget alert. Set one either way.
Cost management tools
AWS Pricing Calculator — before you build
A free web tool for estimating costs.
- Model each component: compute, storage, database, and data transfer
- Compare Regions and pricing models
- Save and share estimates with your team
Use it: in design reviews, before every new project, and when comparing architectures.
AWS Cost Explorer — after you’ve spent
A console tool for visualizing and analyzing your costs.
- Filter and group by service, account, Region, usage type, or tag
- View daily or monthly trends
- Forecast future spending
- See recommendations for Savings Plans and rightsizing
Cost data is typically updated daily, not in real time. API access to Cost Explorer may be charged per request.
AWS Budgets — alerts and guardrails
Set a threshold and get notified when you approach or exceed it.
Budget types include:
- Cost budgets: dollars spent
- Usage budgets: quantity used, such as hours or GB
- Savings Plans and RI budgets: coverage and utilization of commitments
Key features:
- Alerts on actual or forecasted spend
- Notifications by email or Amazon SNS
- Budget actions, which can respond automatically — for example, applying a restrictive IAM policy or stopping specific EC2 or RDS instances
Budget data refreshes up to three times a day, so alerts can arrive hours after the spending happened.
Important: A budget alert does not stop spending by itself. Without budget actions or other automation, it only notifies you.
AWS Cost Anomaly Detection — what’s unusual?
Budgets catch spending that crosses a fixed line. Cost Anomaly Detection catches spending that’s unusual for you — for example, a service that normally costs $1 a day suddenly costing $20 — even if you’re still under budget.
- It uses machine learning on your historical spend.
- An AWS-managed monitor can watch every service automatically, including ones you start using later.
- Alerts can go to email or Amazon SNS, individually or as daily or weekly summaries.
- Each alert points to a likely root cause: the service, account, Region, and usage type.
It’s found under Billing and Cost Management → Cost Anomaly Detection. Pair it with a budget: the budget sets your ceiling, and anomaly detection spots surprises below it.
Cost allocation tags — who spent it?
Tags are key-value labels on resources, such as:
project     = aws-series
environment = dev
owner       = data-platform-team
cost-center = 1234
To use tags in billing reports:
- Apply tags consistently to resources.
- Activate them as cost allocation tags in the Billing console.
- Wait for them to appear in Cost Explorer; activation isn’t instant.
Tags only apply to costs going forward after activation, so tag from day one.
Engineer’s note: Enforce tags in Infrastructure as Code, not through manual discipline. We’ll do that in Phase 6. In multi-account setups, AWS Organizations tag policies can also standardize tag keys and values across accounts.
AWS Support plans
Every account includes Basic support: 24/7 customer service for account and billing questions, documentation, AWS re:Post, AWS Health, and a core set of Trusted Advisor checks.
Paid plans add technical support with faster response times, the full set of Trusted Advisor checks, and — at higher tiers — architectural guidance, proactive reviews, and designated technical contacts. At the time of writing, AWS offers:
- Business Support+ — AWS’s minimum recommended plan for production workloads.
- Enterprise Support — for business-critical workloads, with a designated Technical Account Manager.
- Unified Operations — for mission-critical workloads that need the fastest response and deepest engagement.
For learning and a personal sandbox, Basic is enough. AWS revises plan names, features, and pricing, so compare current plans on the AWS Support page before choosing.
AWS Trusted Advisor
Trusted Advisor inspects your account and recommends improvements across:
- Cost optimization: idle or underused resources
- Performance: overutilized resources and configuration improvements
- Security: risky settings, such as open ports or root MFA not enabled
- Fault tolerance: missing backups or single-AZ resources
- Service limits / quotas: resources approaching quotas
- Operational excellence: best-practice configuration checks
The number of checks available depends on your support plan. Basic accounts get a core set; higher plans unlock the full set.
Cost optimization fundamentals
These five habits prevent most cloud waste.
1. Turn off what you don’t use
Development environments rarely need to run nights and weekends. Schedule them off, or tear them down and recreate them with Infrastructure as Code.
2. Right-size
Match resource sizes to actual usage. Check CPU and memory utilization; if they’re consistently low, choose smaller resources.
3. Commit to the steady baseline
Use Savings Plans and Reserved Instances for predictable, always-on usage — after you have data.
4. Use Spot for interruptible work
Batch, analytics, and CI workloads can often run on Spot capacity at a fraction of the On-Demand price.
5. Make cost visible
Tag everything, give teams their own budgets, and review Cost Explorer regularly. People optimize what they can see.
A quick cost-hygiene checklist
- ☐ Budget alert configured
- ☐ Resources tagged with project, environment, and owner
- ☐ Unattached EBS volumes and old snapshots removed
- ☐ Unused Elastic IPs and public IPv4 addresses released
- ☐ Idle load balancers and NAT gateways removed in non-production
- ☐ CloudWatch Logs retention set
- ☐ S3 lifecycle rules configured for old data
Got a surprise bill anyway? Do this
It happens. Don’t panic — work through these steps in order.
1. Find what’s costing money
Open Cost Explorer, set the time range to the current month, and group by Service. Then group by Region and Usage type. The culprit is usually obvious within a minute: a NAT gateway, an instance in a Region you forgot about, or data transfer.
2. Stop the bleeding
Delete or stop the resource that’s driving the cost. Check every Region — the console only shows one at a time. Remember that stopping an EC2 instance doesn’t stop charges for its EBS volumes or Elastic IPs.
3. Contact AWS billing support
Billing support is included with every plan, including Basic. Open a case under Support Center → Create case → Account and billing. Explain what happened, what you’ve already shut down, and what you’ve changed to prevent it happening again. AWS reviews these requests case by case, and there’s no guarantee of a refund.
4. Prevent the next one
Set up a budget alert and Cost Anomaly Detection if you haven’t already, and tag your resources so you can trace costs back to a project.
Common mistakes
- No budget alert on a new account
- Ignoring data transfer in architecture estimates
- Buying commitments too early, before usage is stable
- Running Spot for stateful workloads that can’t tolerate interruption
- Tagging inconsistently, making cost attribution impossible
- Forgetting other Regions when looking for what’s costing money
Key takeaways
- AWS charges for compute time, storage, requests, data processed, data transfer, and provisioned features.
- On-Demand gives flexibility; Savings Plans and RIs reward commitment; Spot rewards interruptibility.
- Verify Free Tier terms for your account, and never rely on them in place of a budget.
- Estimate with Pricing Calculator, analyze with Cost Explorer, alert with Budgets and Cost Anomaly Detection, and attribute with tags.
- Most waste comes from idle resources, oversizing, and invisible costs such as data transfer.
Quick self-check
Test yourself before moving on:
- A production API runs 24/7 at a steady load. Which pricing model fits its baseline compute?
- Does an AWS Budgets alert stop spending when you hit the threshold?
- In the worked example, which component cost the most?
- You tagged your resources yesterday, but the tags don’t appear in Cost Explorer. Why?
Answers
- Savings Plans — once you have a few weeks of usage data — with On-Demand covering the peaks.
- No. It only notifies you, unless you configure budget actions.
- The NAT gateway — more than the application itself.
- Tags must be activated as cost allocation tags in the Billing console, they take time to appear, and they only apply to costs from activation onward.
What’s next
In Part 5, we put everything from Phase 1 into practice: create and secure an AWS sandbox, set up a budget alert, configure the AWS CLI with short-lived credentials, and explore two Regions.
What’s the most surprising line item you’ve seen on an AWS bill? Share it in the comments — it’ll help someone else avoid it.